
Install qBittorrent on Windows, install qBittorrent on Windows 11, qBittorrent download, qBittorrent on Windows 10, download, install, qbittorrent, torrent, windows 10, windows 11, Bittorrent, torrenting, qBittorrent install on windows, windows 7, windows 8, torrent explained.
Torrenting has become a popular way of sharing and downloading files over the internet. Therefore, to have a seamless experience, you will require an internet connection for sure and also a reliable torrent client, and qBittorrent is for sure one of the best options in any possible sense. In this guide, we will walk you through the process of installing qBittorrent on Windows 11.
What are Torrents?
Before we dive into the installation process, it’s essential to understand the basics. Torrents are a peer-to-peer (P2P) file-sharing protocol that allows users to download and share files over the internet. Instead of relying on a single server, torrents distribute the file across multiple users, making downloads faster and more resilient.
Why qBittorrent?- What’s So Special?
qBittorrent is a free, open-source torrent client known for its simplicity, wide range of features, and most importantly very light on the system while running. It’s a great choice for beginners due to its simpler UI and experienced users who want to manage their torrent downloads efficiently due to the vast support of community-made plugins for the application further increasing the capabilities.
To check out more about why qBittorrent is special, click here.
Downloading the Torrent Client Installer
Before getting started with the installation process, consider that qBittorrent is available only for 64-bit Window 7/8/10/11 and does not support 32-bit OS versions.
Moving forward,
- Click here to visit the download page qBittorrent or visit the site here.
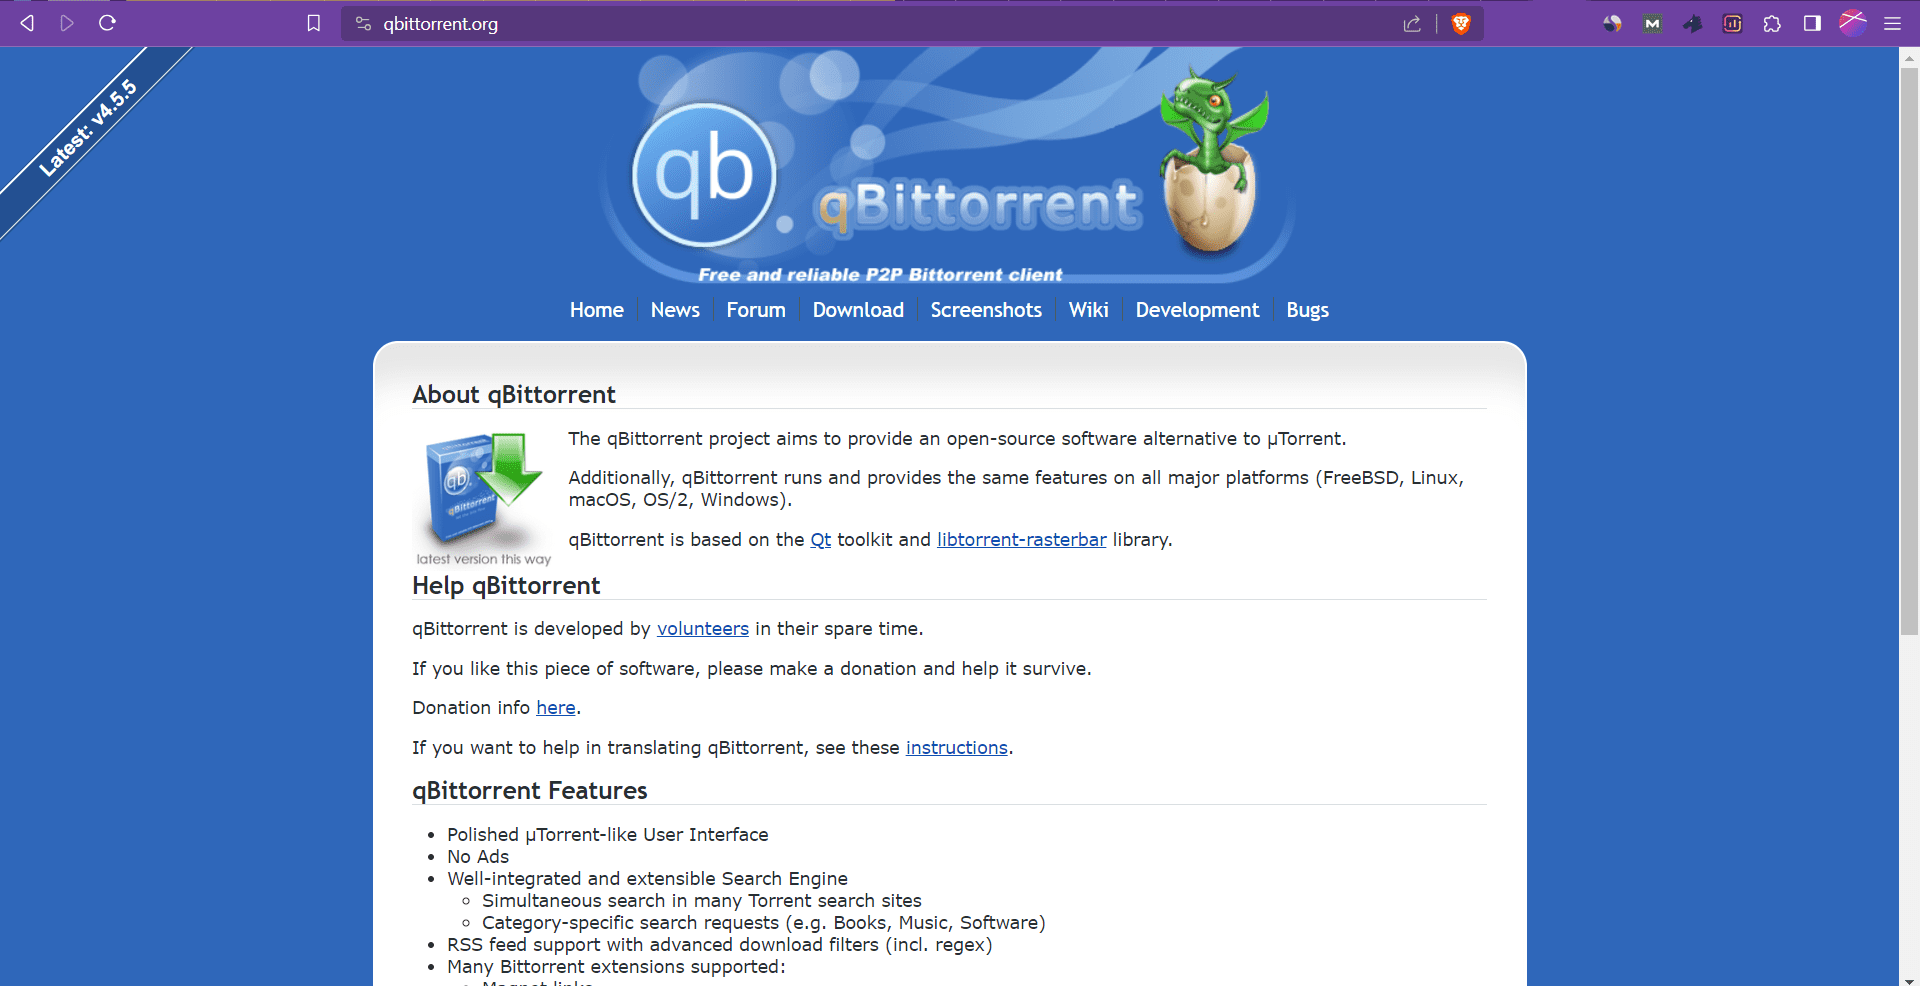
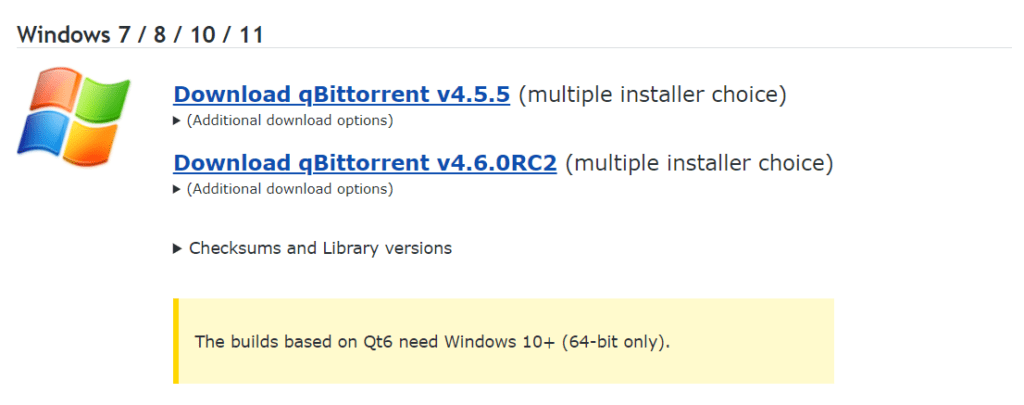
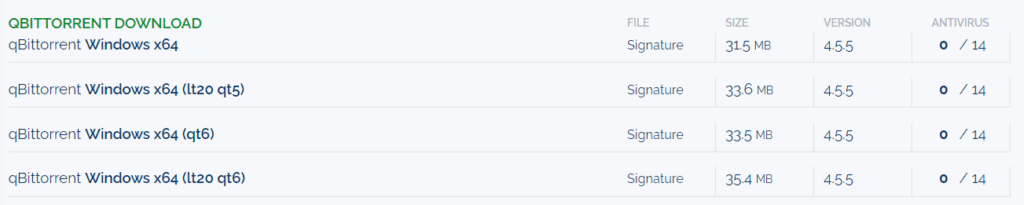
2. On the download page, select the latest version of qBittorrent Setup/Installer based on your requirement, referring the guide below.

Install qBittorrent on Windows
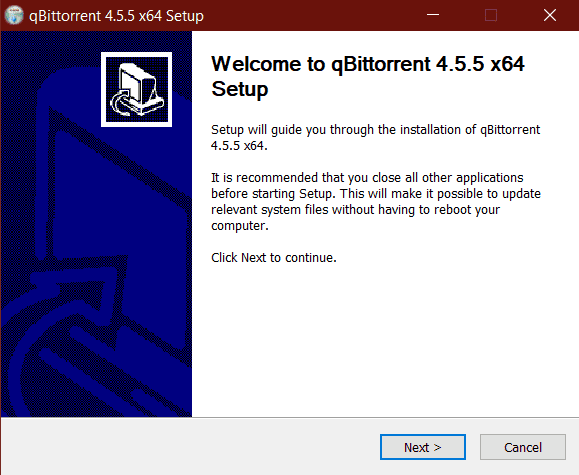
1. After the installer finishes downloading, run the installer with administrator permissions. Then select the language with which you are comfortable.

2. On the Setup Wizard Welcome page, click Next.
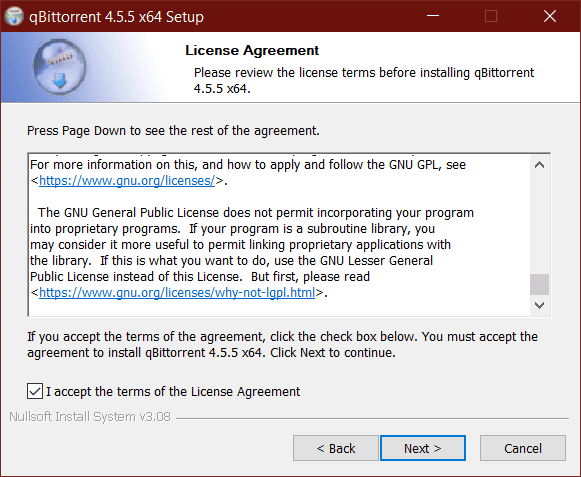
3. On the License Agreement page, if you want then you can read the agreement or you can just accept the agreement by ticking the checkbox and click Next.

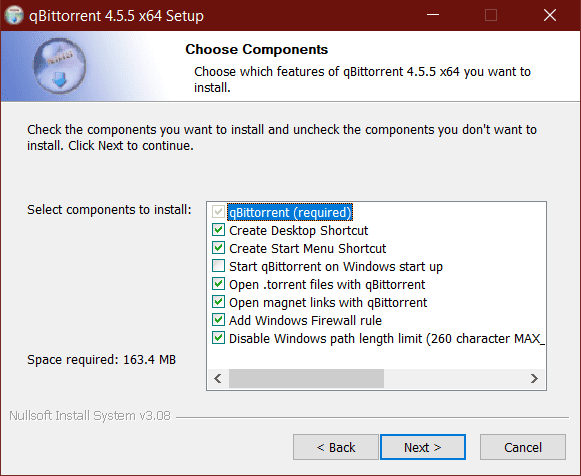
4. On this page I would suggest to leave the default selected components as they are, but feel free to make any updation if you want and click Next.
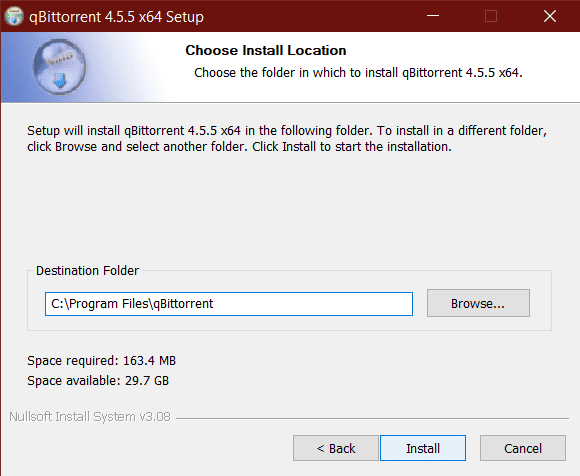
5. Choose the desired location of installation of qBittorrent. The default installation location is C:\Program Files\qBittorrent. Also, it is not necessary to change the default location and it is also recommended not to do so. After this, proceed with Install button and the installation will start.
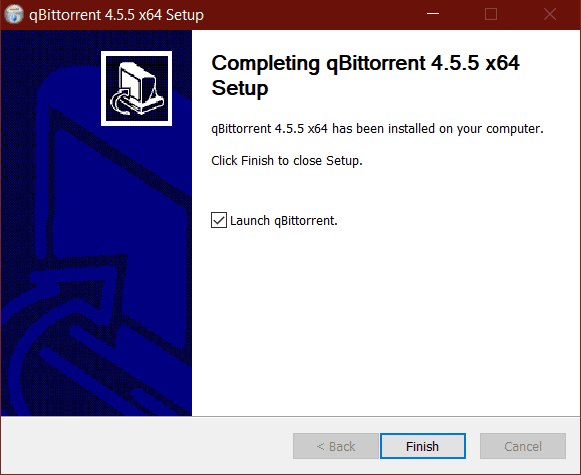
6. Within moments, installation finishes and you will meet this screen of completion, if not you can try again the whole process and if problem persists, there will be an error code or explanation of the issue occurring with the installation. You can try resolving the issue. If done installation, click Finish.
Kudos! Welcome to The qBittorrent Community
When the installation is successful, qBittorrent will start automatically and you will be free to explore its beginner-friendly interface and also download anything using the P2P torrenting method.
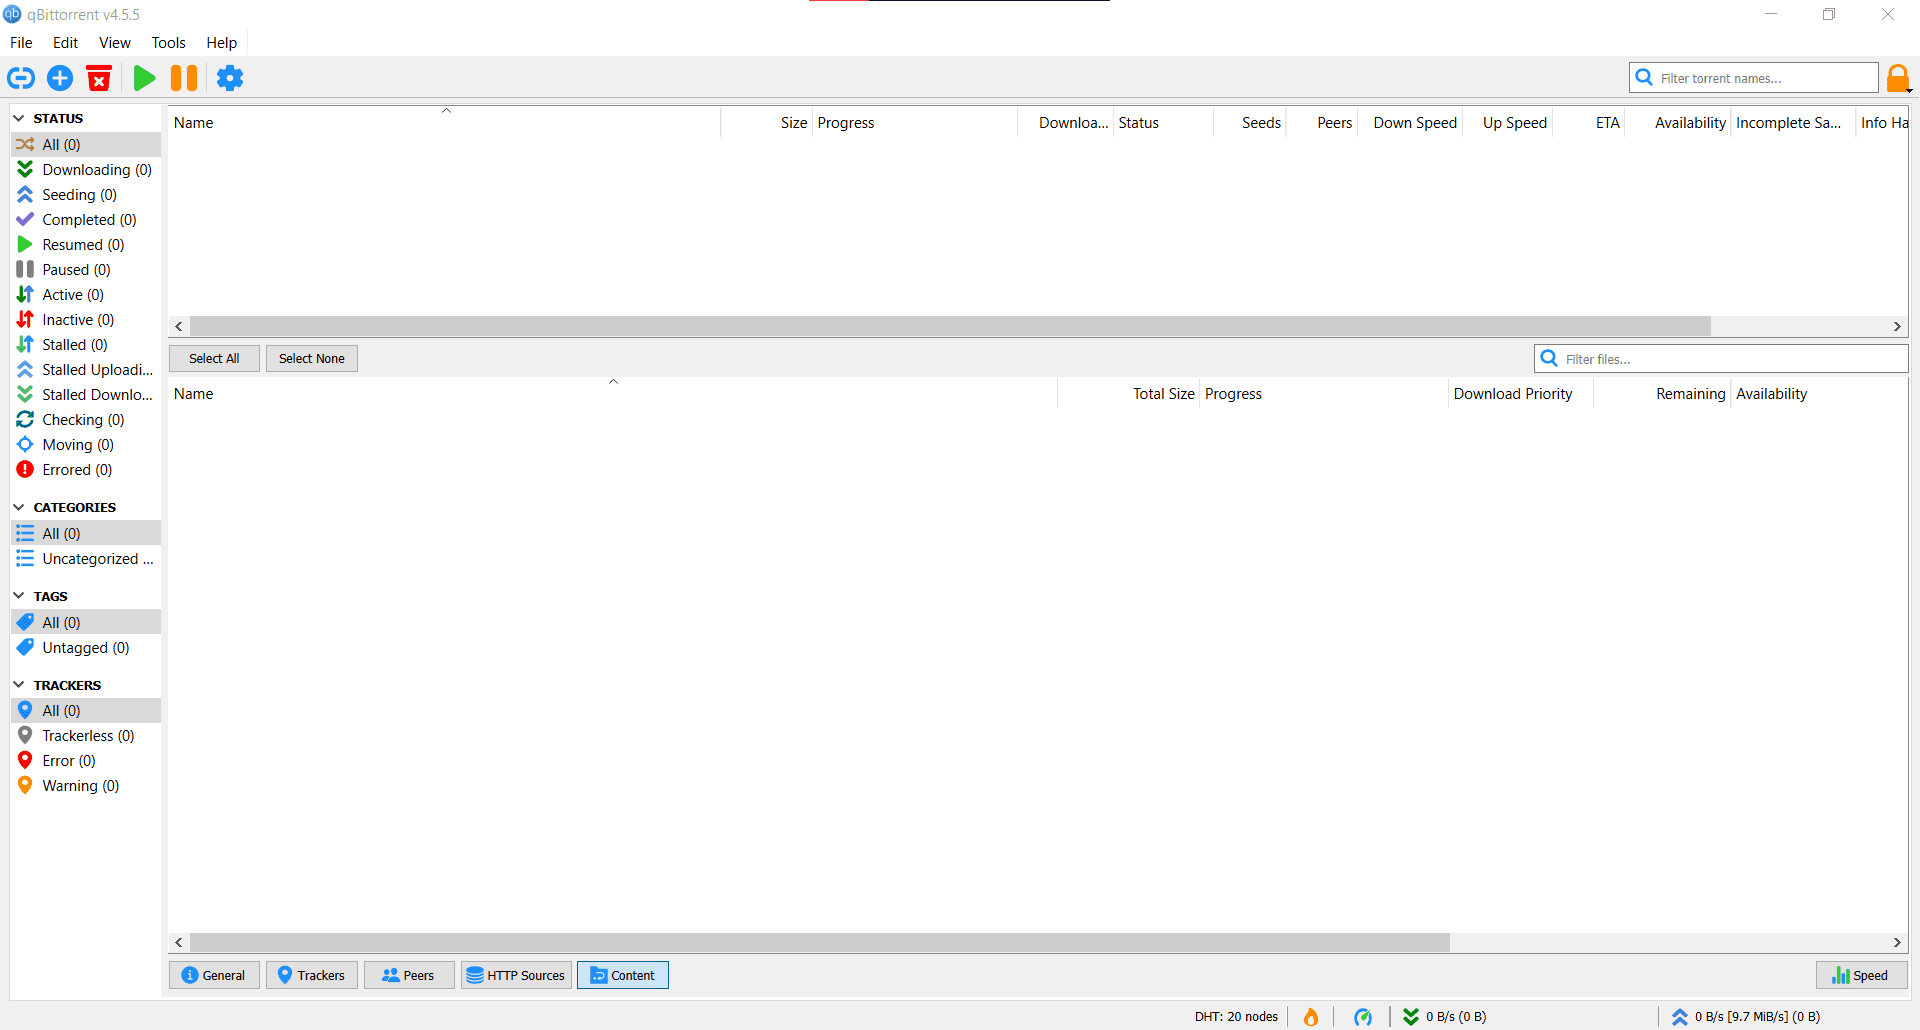
To add a torrent, simply click on the “+” icon and choose the torrent file or magnet link you want to download.
In conclusion, qBittorrent is a powerful and user-friendly torrent client that makes downloading and managing torrents a breeze. With this guide, you should have no trouble getting it up and running on your Windows 11 system.
1 thought on “This will Change Your Way of Using Internet | How To Install qBittorrent On Windows 11/10/8/7”